Install Community Edition on Docker
Deploy Camouflage Community Edition using Docker for quick and simple deployment.
Prerequisites
- Docker Engine 20.10 or later
- 1 CPU core minimum (2 recommended)
- 512 MB RAM minimum (1 GB recommended)
- 5 GB disk space minimum (10 GB recommended)
- Ports 9443/tcp (Web UI), 61700/udp (VPN Network 1), and 61701/udp (VPN Network 2) available
Supported Architectures:
- x86_64 (amd64) - Intel/AMD processors
- ARM64 (aarch64) - ARM-based servers (AWS Graviton, Oracle Ampere, etc.)
Docker automatically pulls the correct image for your system architecture.
Community Edition includes:
- 10 nodes maximum across all networks
- 2 networks maximum
- Free forever - no credit card required
Installation Steps
1. Pull the Community Edition Image
docker pull camouflagenetworks/camouflage-ce:latest
The image automatically works on both x86_64 and ARM64 architectures. Docker will pull the correct variant for your system, so you can use the same command on any supported platform.
2. Create Data Volume
docker volume create camouflage_data
3. Run the Container
docker run -d \
  -p 9443:9443 \
  -p 61700:61700/udp \
  -p 61701:61701/udp \
  --name camouflage-ce \
  --cap-add=NET_ADMIN \
  --cap-add=NET_RAW \
  --device=/dev/net/tun:/dev/net/tun \
  -v camouflage_data:/data \
  camouflagenetworks/camouflage-ce:latest
4. Verify Installation
Check the container is running:
docker logs camouflage-ce
You should see output indicating the server started successfully.
5. Access Web UI
Open your browser and navigate to:
https://your-server-ip:9443
On first boot, the system automatically:
- Generates self-signed SSL certificates
- Runs database migrations
- Creates a default admin user
- Creates 2 default networks:
- Primary Network (10.99.0.0/24)
- Secondary Network (10.98.0.0/24)
Default Login Credentials:
Username: admin
Password: camouflage
Important: Change the default password immediately after first login!
Community Edition Limits:
- Maximum 10 nodes across all networks
- Maximum 2 networks total
- Perfect for small teams and personal use
- Upgrade to Cloud Edition for unlimited nodes and networks
Setting Up Your First Node
Once your Community Edition server is running, follow these steps to connect your first device to the VPN network.
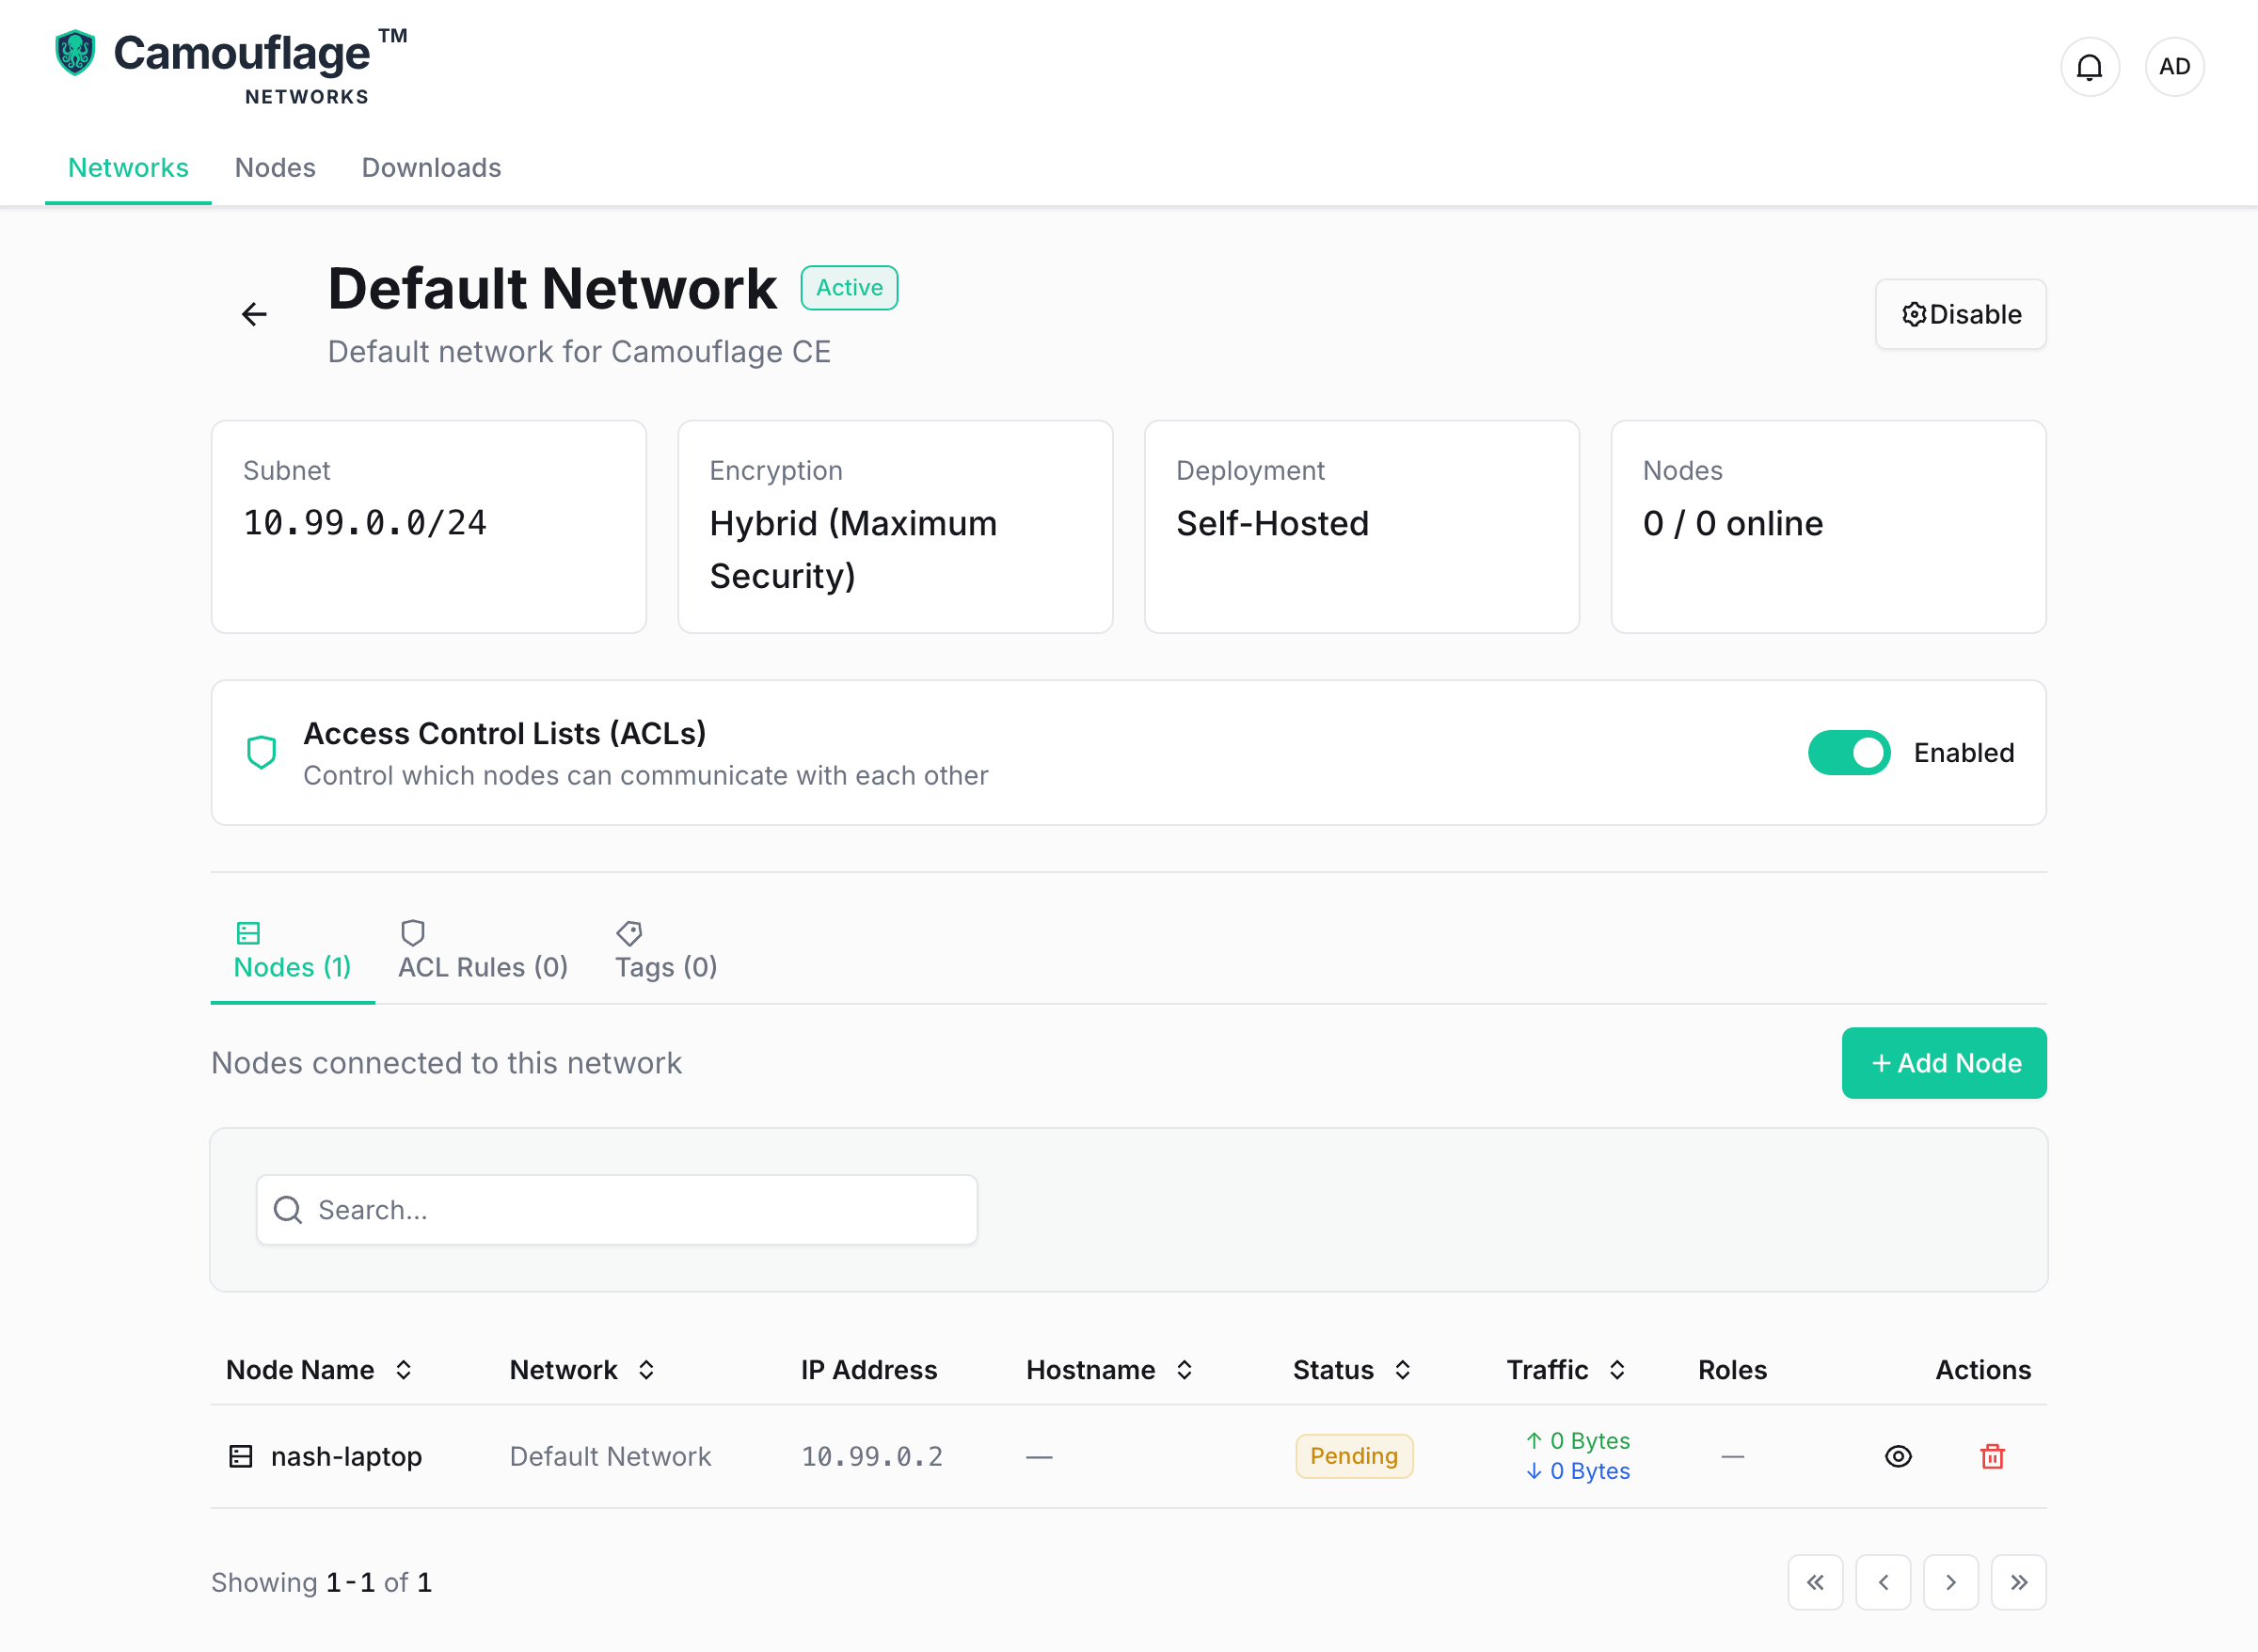
1. Login to Control Plane
Access the web UI at https://your-server-ip:9443 and log in with your credentials.
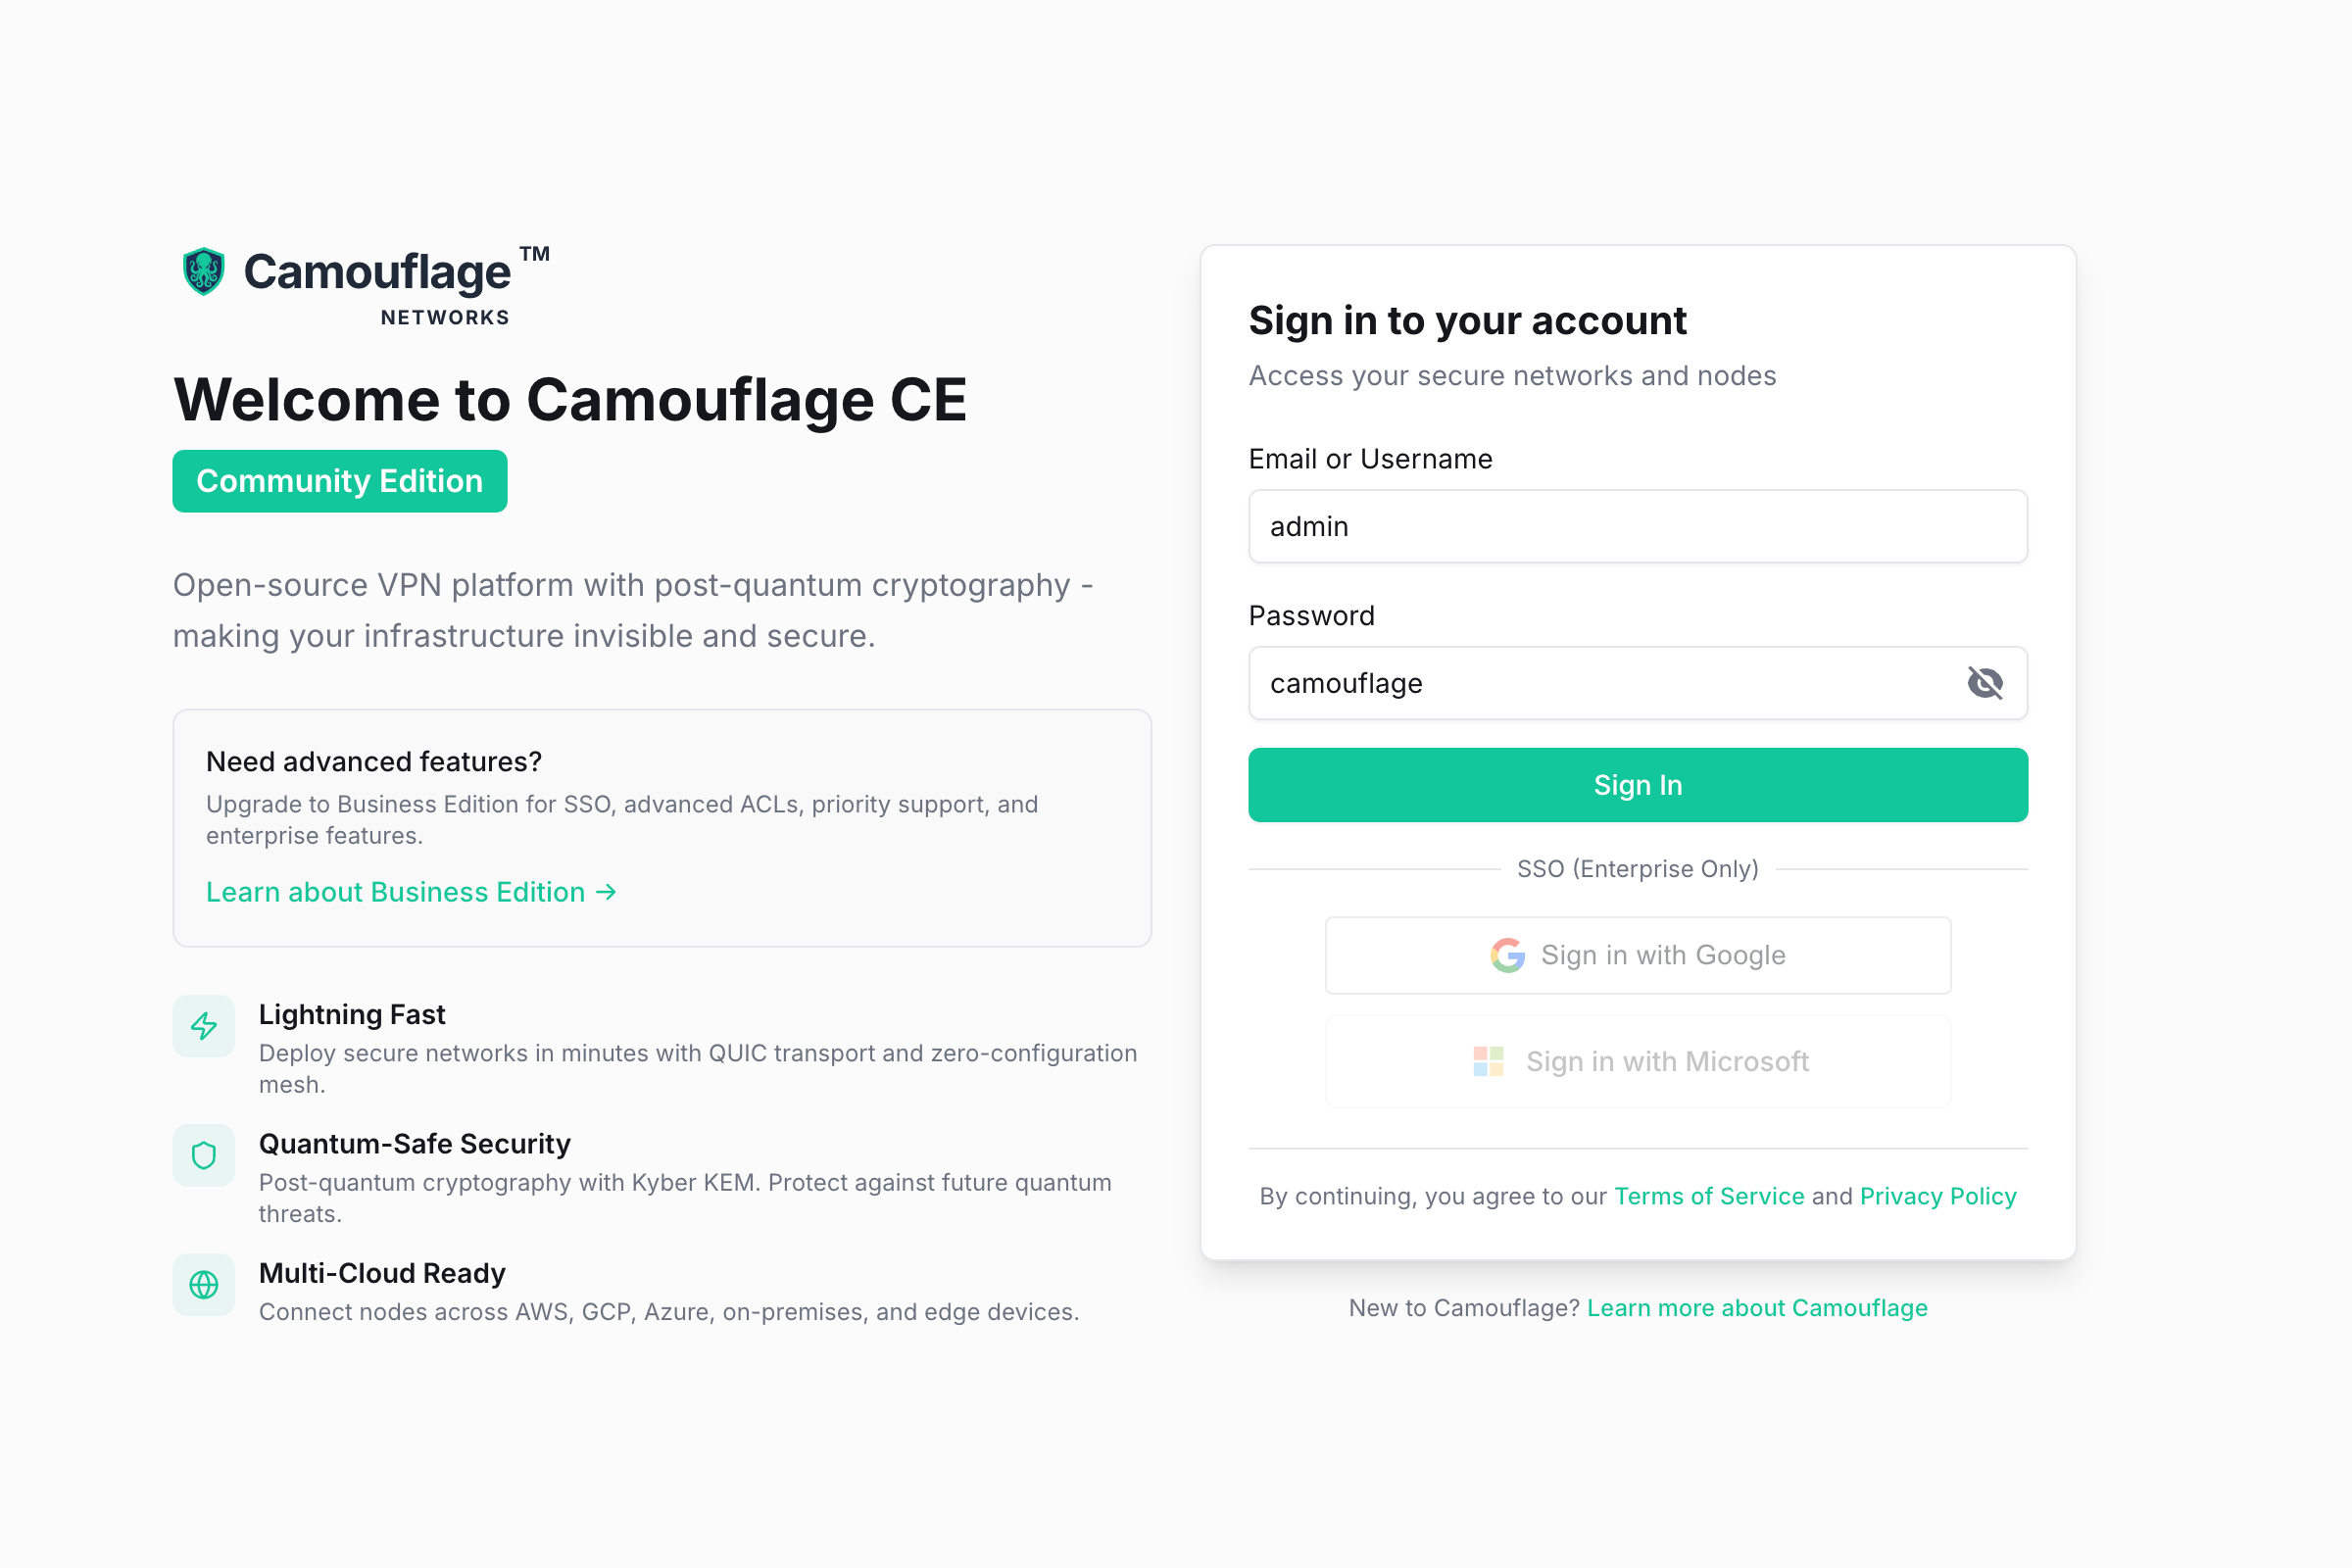
2. View Dashboard
After logging in, you'll see the main dashboard showing your network overview and statistics.
3. View Default Networks
Navigate to the Networks section. Community Edition automatically creates 2 networks during first boot:
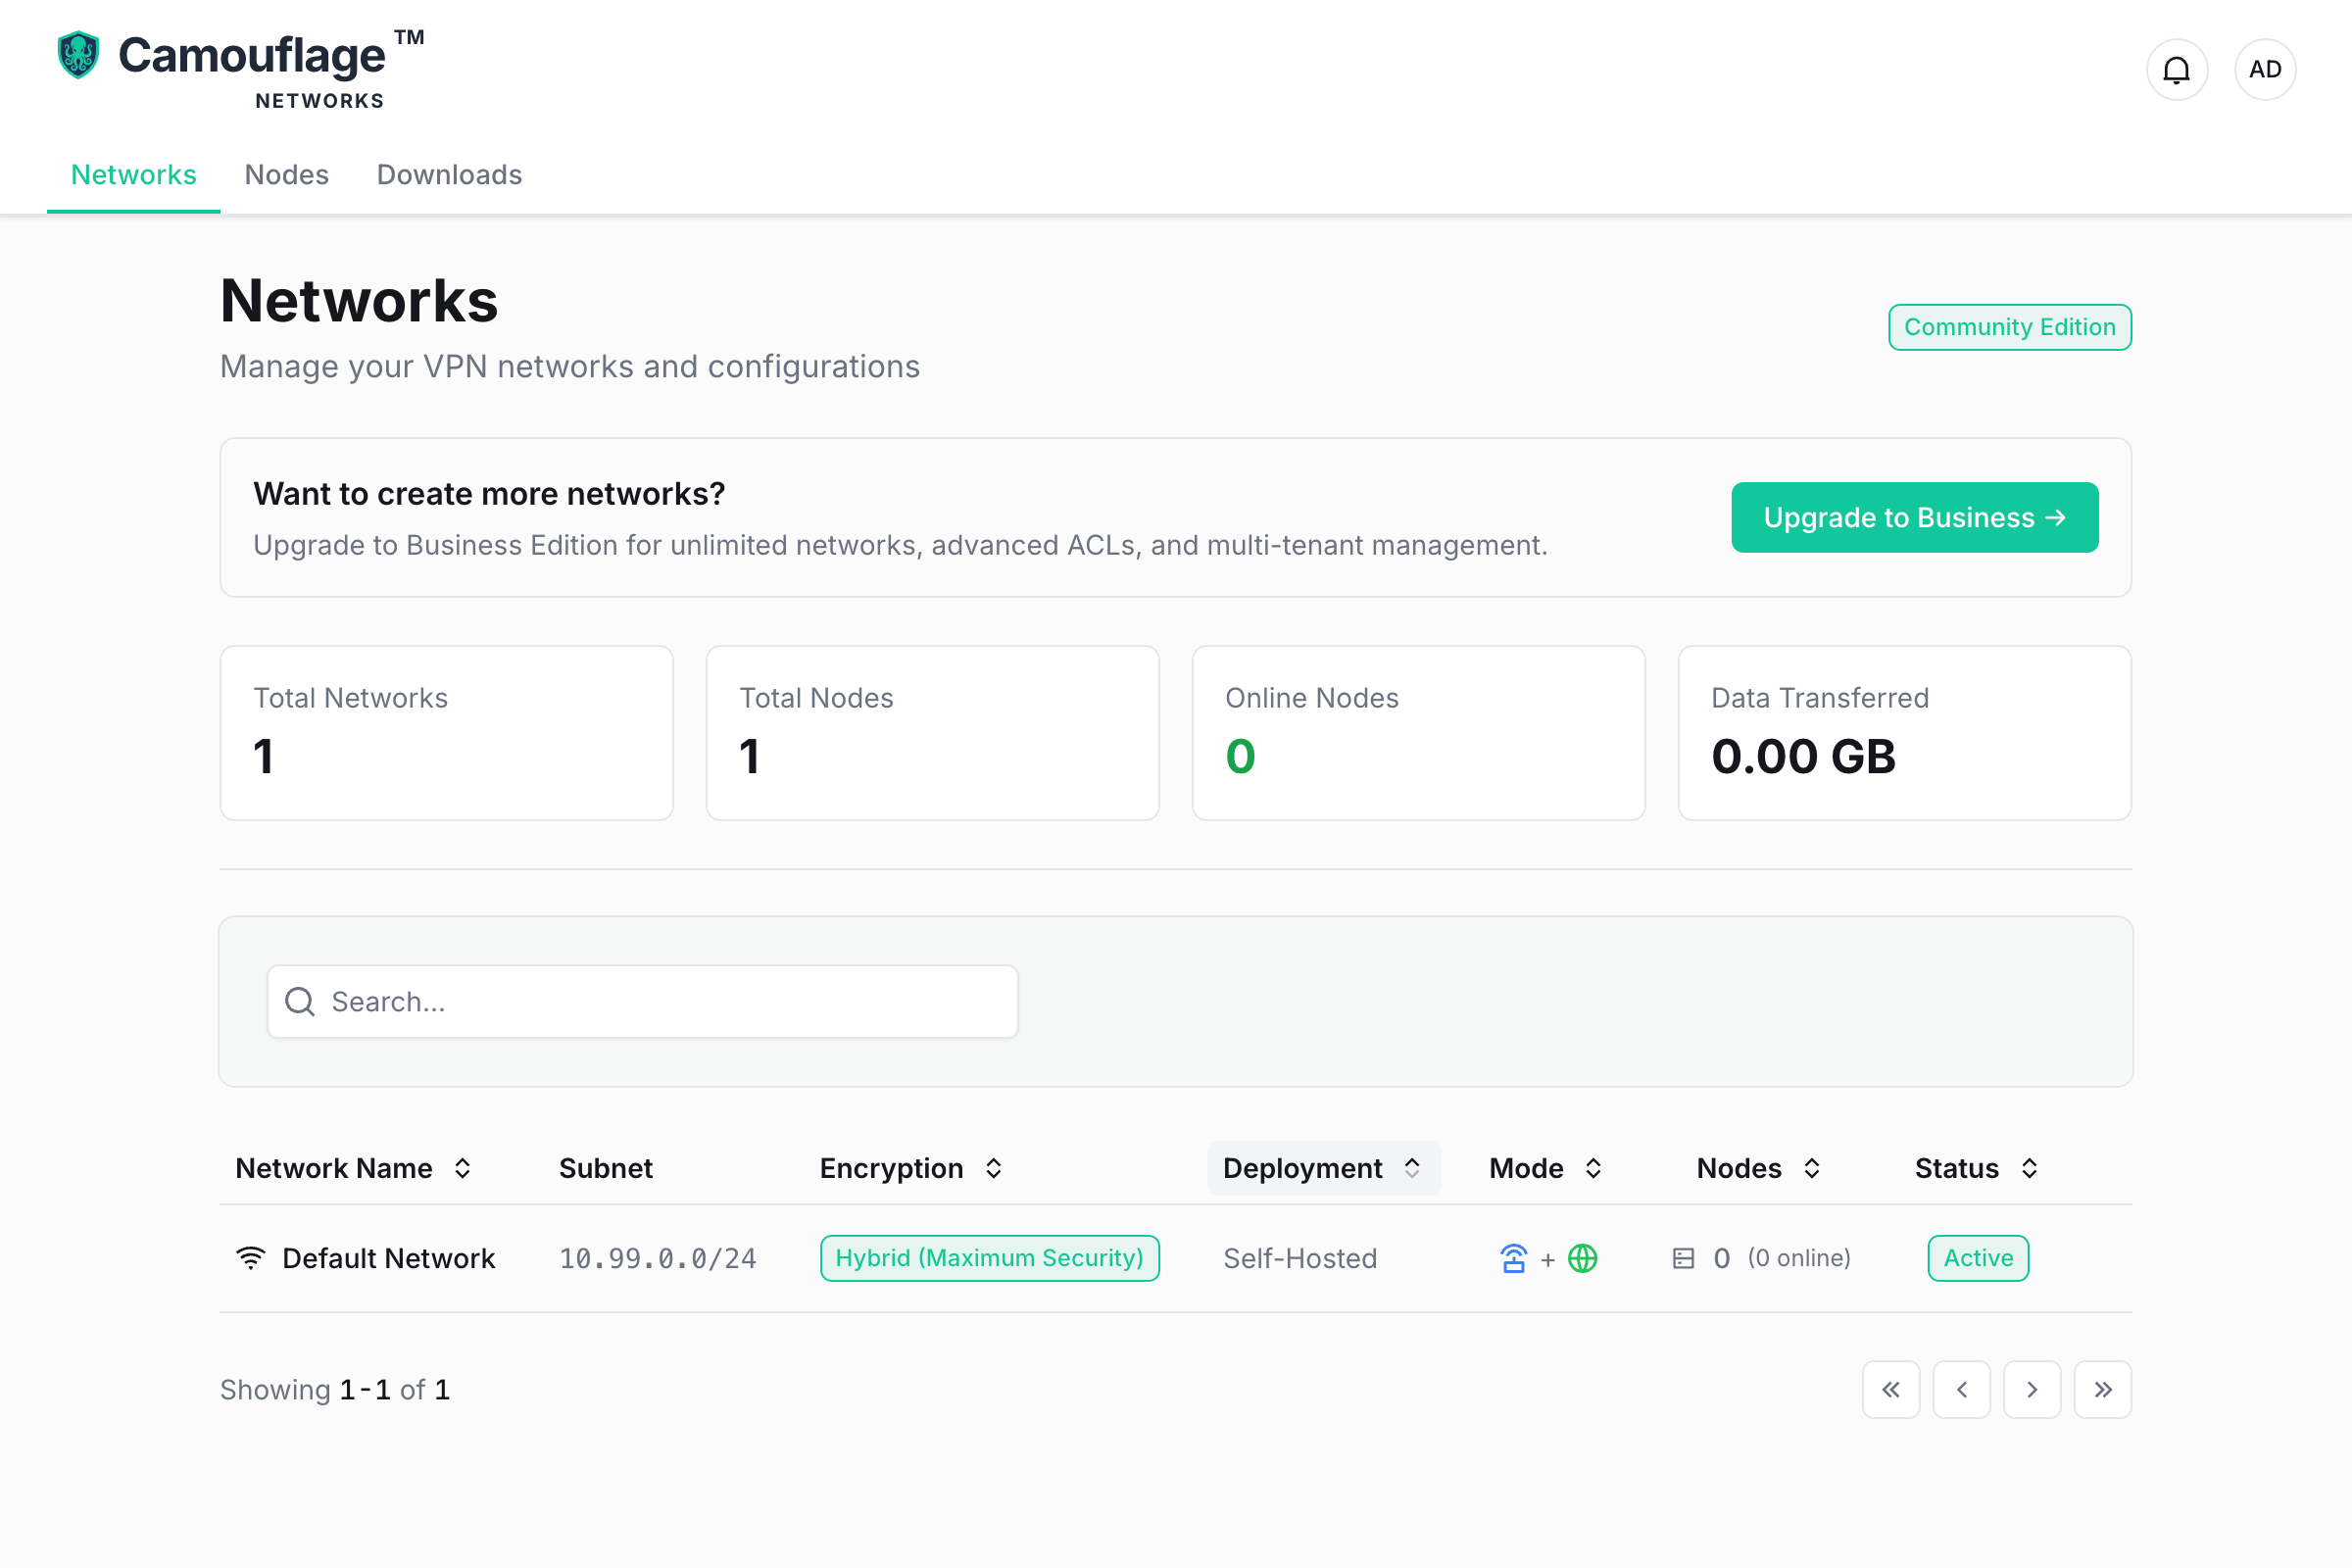
Primary Network (10.99.0.0/24):
- KEX Method: Hybrid (post-quantum + Noise)
- Mode: Mixed (supports both P2P and gateway)
- Deployment: Self-hosted
Secondary Network (10.98.0.0/24):
- Same configuration as Primary Network
- Use this to separate environments (e.g., dev/prod) or different teams
4. Add a Node
Click the "Add Node" button to create a new node configuration for your device.
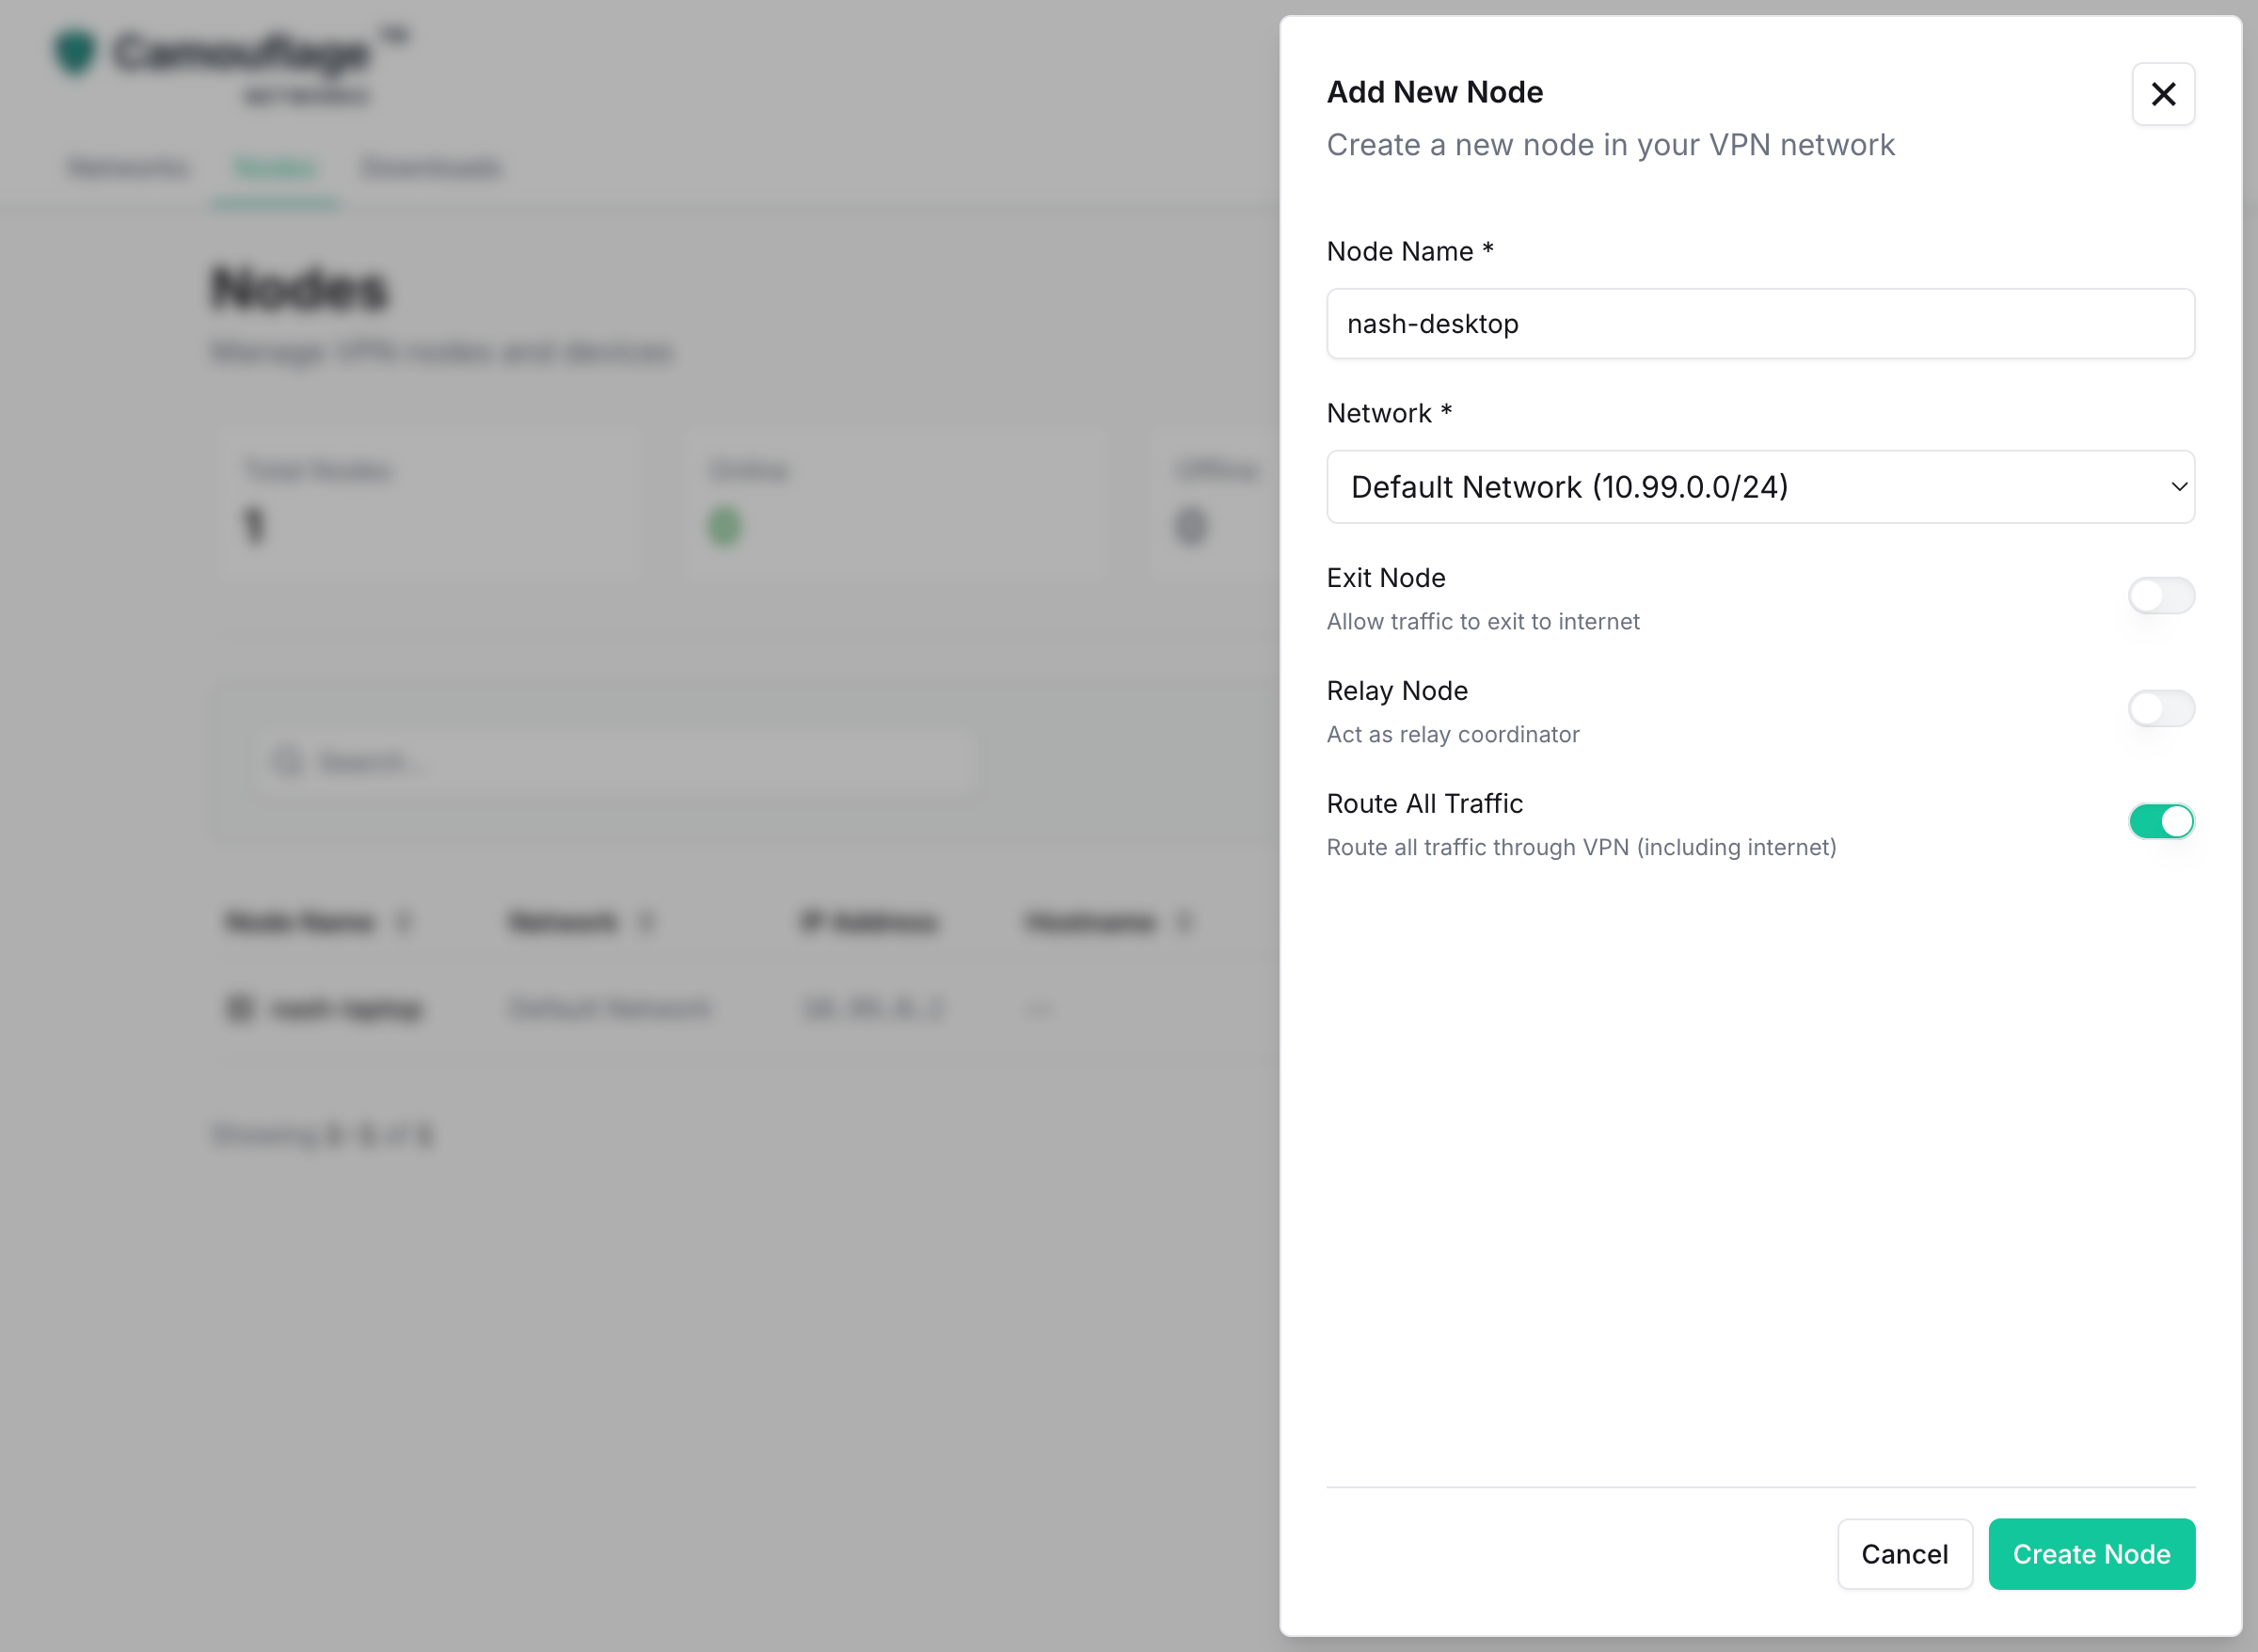
Fill in the node details:
- Node Name: A descriptive name for your device (e.g., "my-laptop")
- Network: Select your default network
- Route All Traffic: Enable if you want all internet traffic to go through the VPN
5. Download Connection Config
After creating the node, you'll receive an authentication key and connection configuration. Download the .camouflage config file.
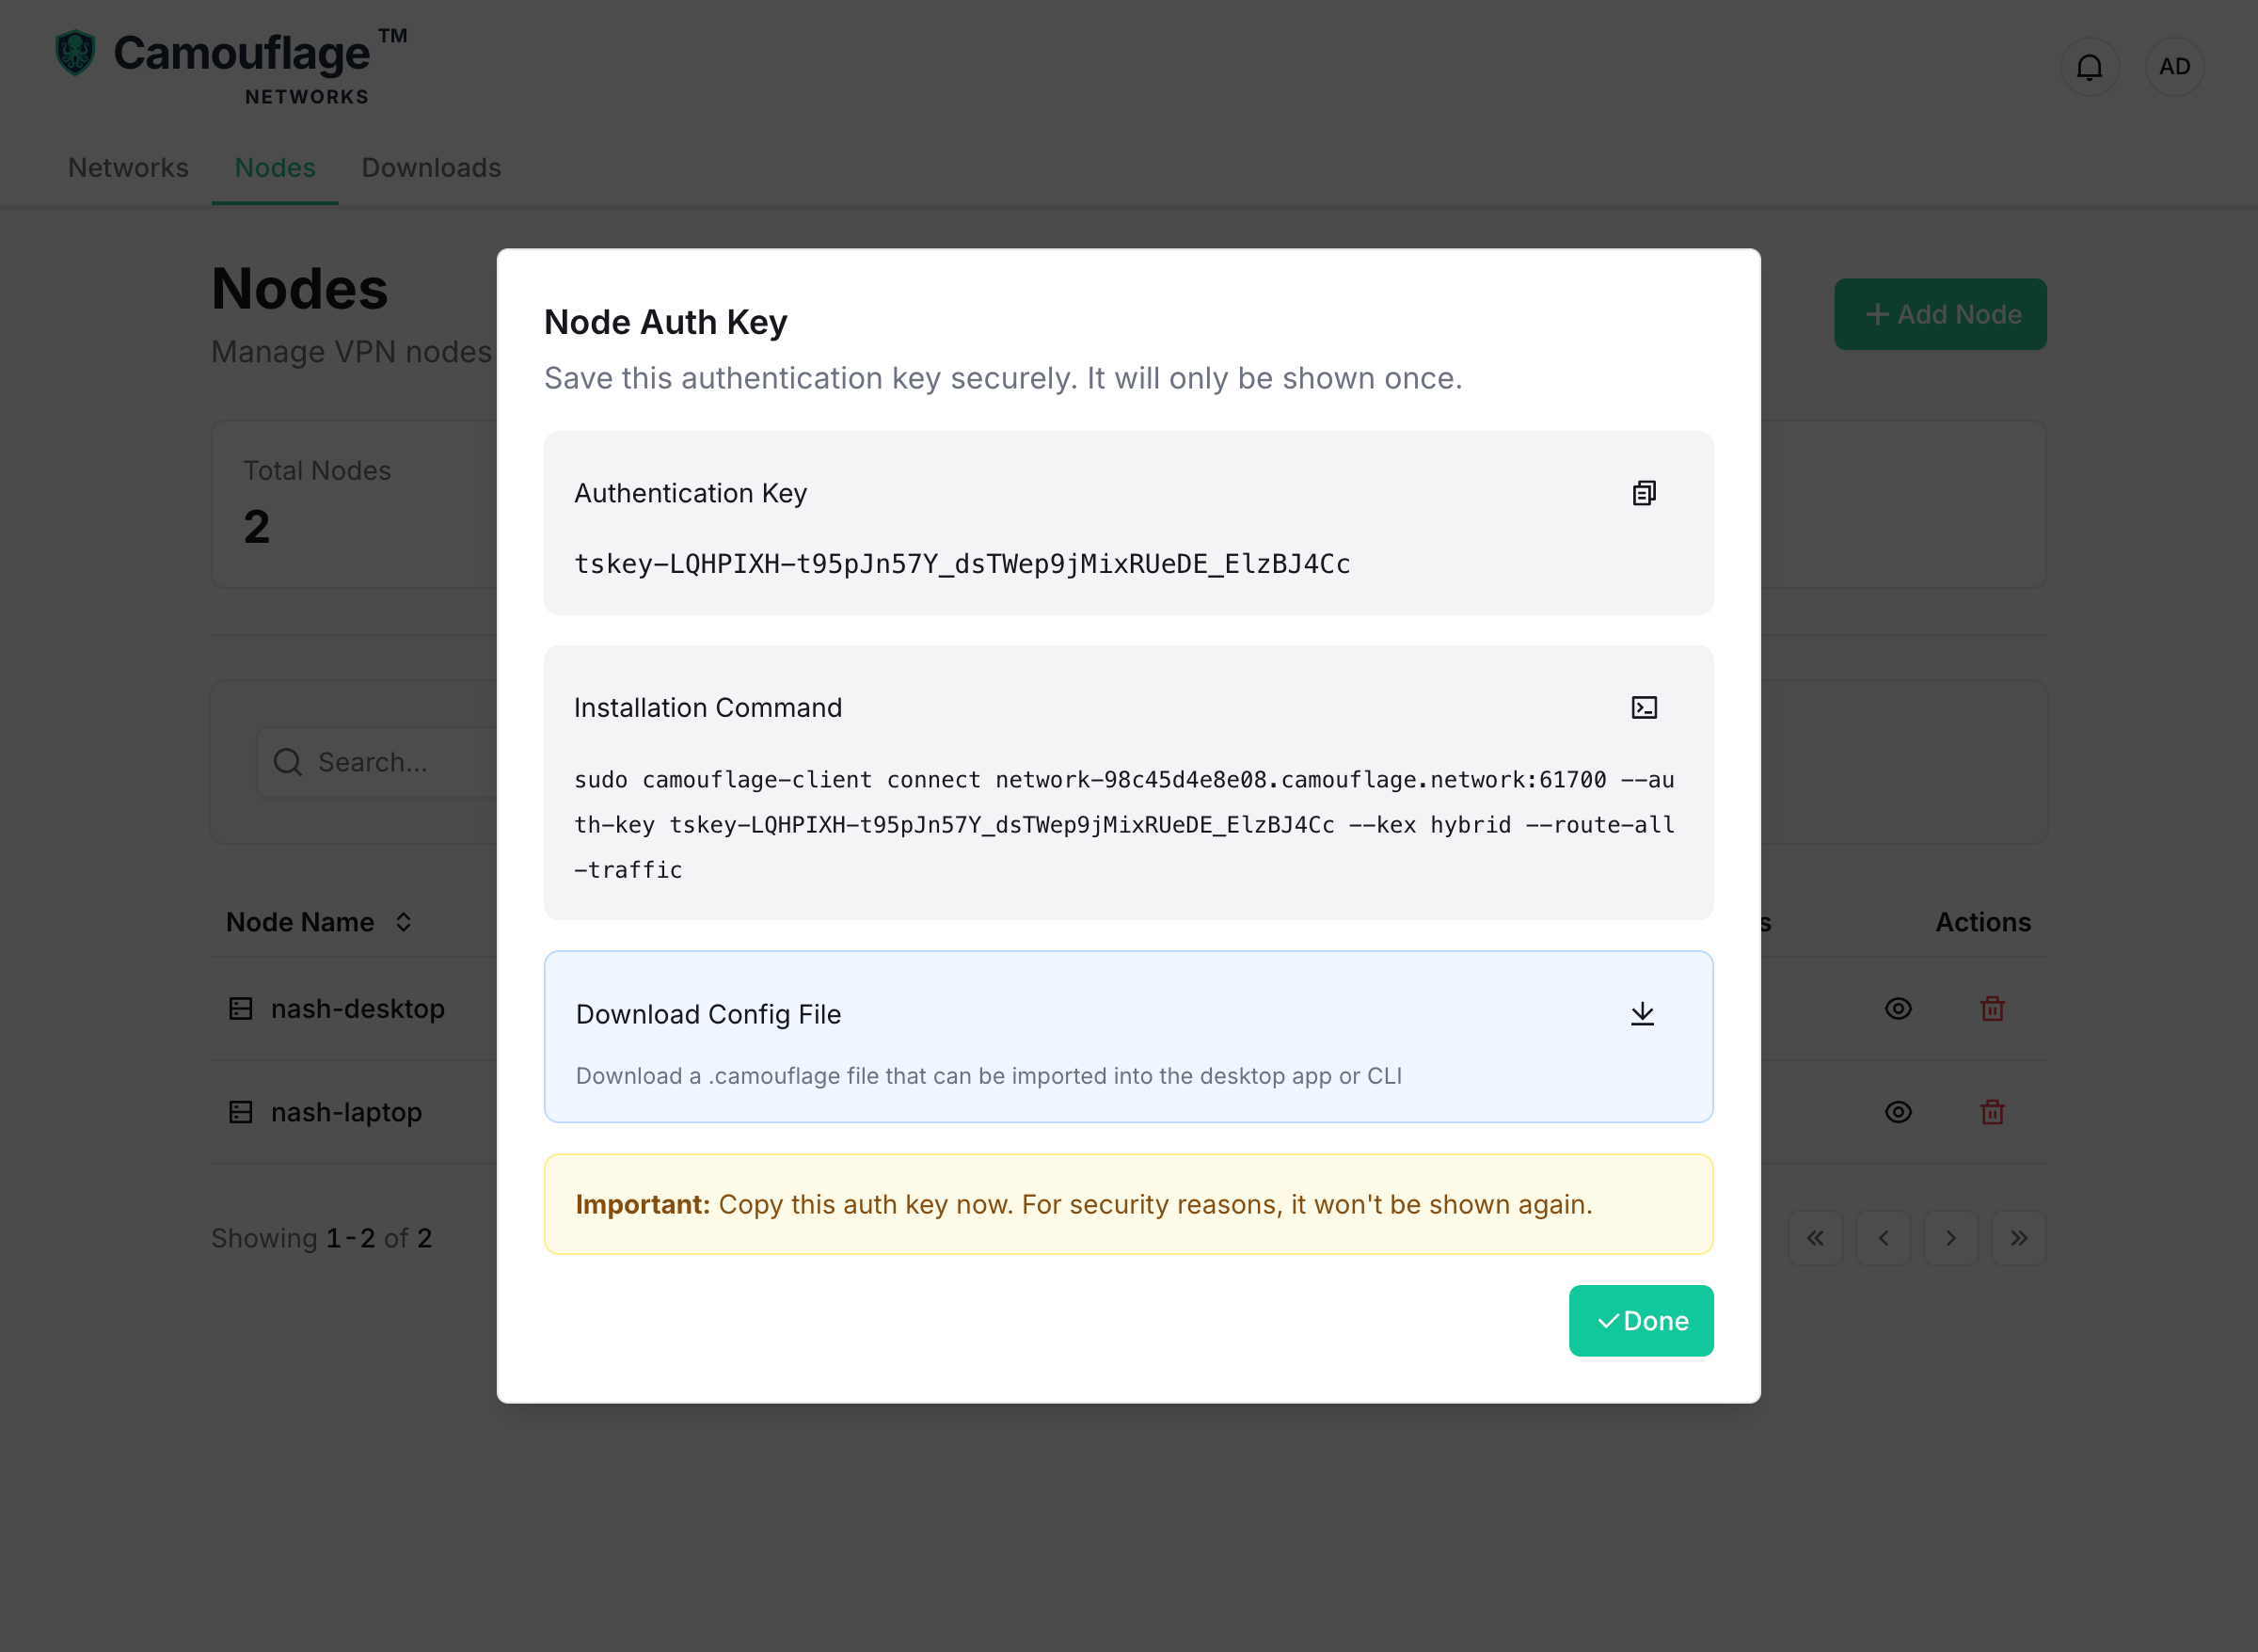
Important: Save the authentication key securely - it will only be shown once!
6. Download Client Application
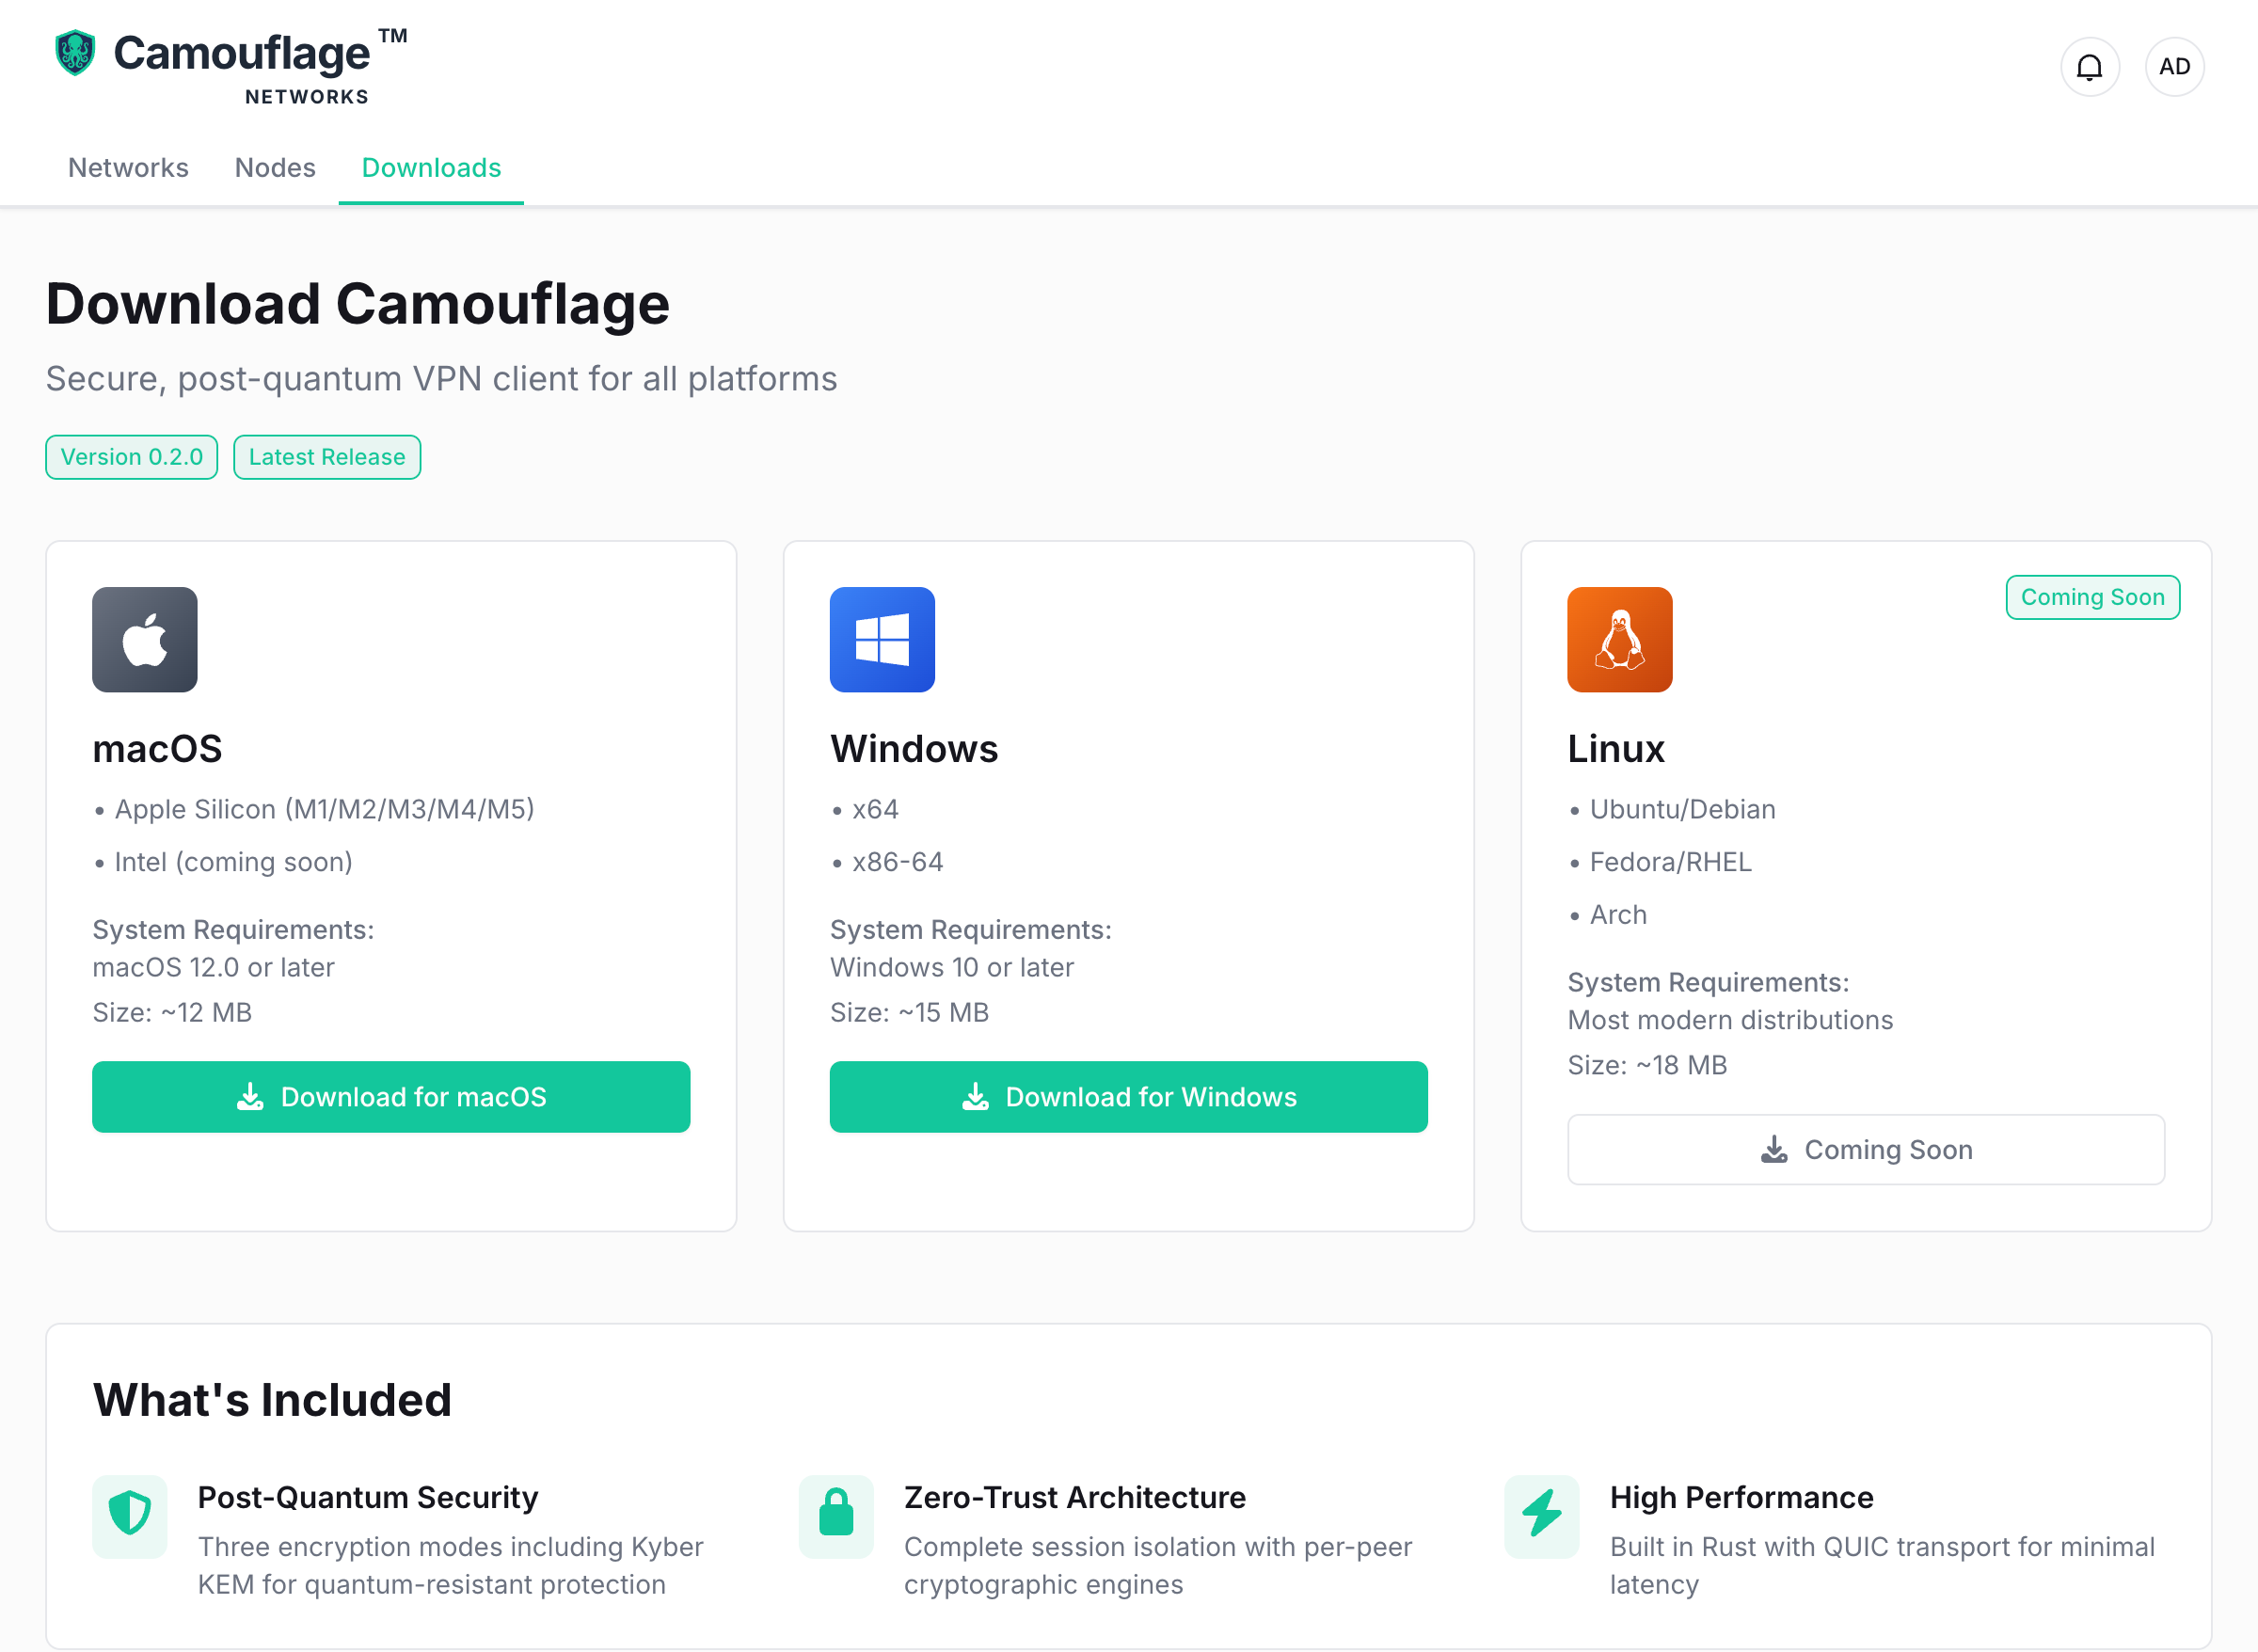
Go to the Downloads section and download the Camouflage client for your platform:
- Windows: Download the Windows installer
- macOS: Download the macOS application
7. Connect Your Device
- Install the Camouflage client on your device
- Open the client application
- Import the
.camouflageconfig file you downloaded - Click "Connect"
Your device is now connected to your private VPN network!
Port Configuration
| Port | Protocol | Purpose |
|---|---|---|
| 9443 | TCP | Web UI and API |
| 61700 | UDP | VPN daemon (Network 1) |
| 61701 | UDP | VPN daemon (Network 2) |
Required Capabilities
The container requires the following Linux capabilities for network operations:
NET_ADMIN- Network administration (routing, tunneling)NET_RAW- Raw socket access (packet manipulation)
Data Persistence
All configuration and data is stored in the Docker volume camouflage_data, which is mounted at /data inside the container. This includes:
- Database
- Configuration files
- Certificates
- Logs
Troubleshooting
Container Won't Start
Check logs:
docker logs camouflage-ce
Common issues:
- Port conflicts (9443 or 61700 already in use)
- Insufficient permissions for capabilities
- Docker volume mount issues
Connection Issues
Verify ports are accessible:
netstat -tulpn | grep -E '9443|61700|61701'
Ensure firewall allows traffic:
# UFW
sudo ufw allow 9443/tcp
sudo ufw allow 61700/udp
sudo ufw allow 61701/udp

# iptables
sudo iptables -A INPUT -p tcp --dport 9443 -j ACCEPT
sudo iptables -A INPUT -p udp --dport 61700 -j ACCEPT
sudo iptables -A INPUT -p udp --dport 61701 -j ACCEPT
Can't Access Web UI
Check that the container is running:
docker ps | grep camouflage-ce
If the container is not running, check logs:
docker logs camouflage-ce
VPN Daemon Not Working
The VPN daemon requires access to the TUN device. The installation commands include both --cap-add=NET_ADMIN --cap-add=NET_RAW and --device=/dev/net/tun:/dev/net/tun to ensure proper TUN device access.
If you're running without the --device flag, the container will create the TUN device automatically using the capabilities, but you may see an informational warning in the logs. This is normal and the daemon will still work correctly.
Container Management
Stop the container
docker stop camouflage-ce
Start the container
docker start camouflage-ce
Restart the container
docker restart camouflage-ce
Remove the container
docker stop camouflage-ce
docker rm camouflage-ce
Upgrading
To upgrade to a newer version:
- Stop and remove the current container:
docker stop camouflage-ce
docker rm camouflage-ce
- Pull the latest multi-platform image:
docker pull camouflagenetworks/camouflage-ce:latest
Docker will automatically download the correct architecture for your system (amd64 or arm64).
- Run the new container with the same volume:
docker run -d \
  -p 9443:9443 \
  -p 61700:61700/udp \
  -p 61701:61701/udp \
  --name camouflage-ce \
  --cap-add=NET_ADMIN \
  --cap-add=NET_RAW \
  --device=/dev/net/tun:/dev/net/tun \
  -v camouflage_data:/data \
  camouflagenetworks/camouflage-ce:latest
Your data will be preserved in the camouflage_data volume.